
Installing Vampire Slide On Plugs - Zip Plugs
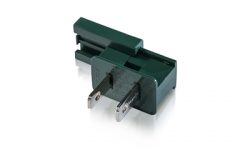
As professional Christmas installers, one of the most valued pieces of hardware that we carry with us is slide on plugs, also known as zip plugs or vampire plugs. Our toolboxes are always crammed full of hundreds of these handy little plugs. We've come to count on the slide on plugs so much that we don't know how we ever lived without them.
These days, slide on males and females are not only used by professional installers, but many Christmas enthusiasts have also discovered these great little gems. We sell tens of thousands of these every year to homeowners that can't imagine Christmas without them.
Slide on plugs allows installers to make their own extension cords. The cord itself, known as zip cord, comes in either 250' or 1,000' spools. You simply measure off how much cord you need, cut it, and then add your male to one side and your female to another. While having the ability to make your own cords is a huge plus, it doesn't stop there. By adding what is called an inline female, you can actually have multiple female outlets throughout the cord, rather than just at the end. Having multiple inline females is very valuable for a variety of lighting applications such as the canopy and hedge lighting as well as many perimeter lighting applications.
Let's take a look at how easy it is to install a slide on plug:
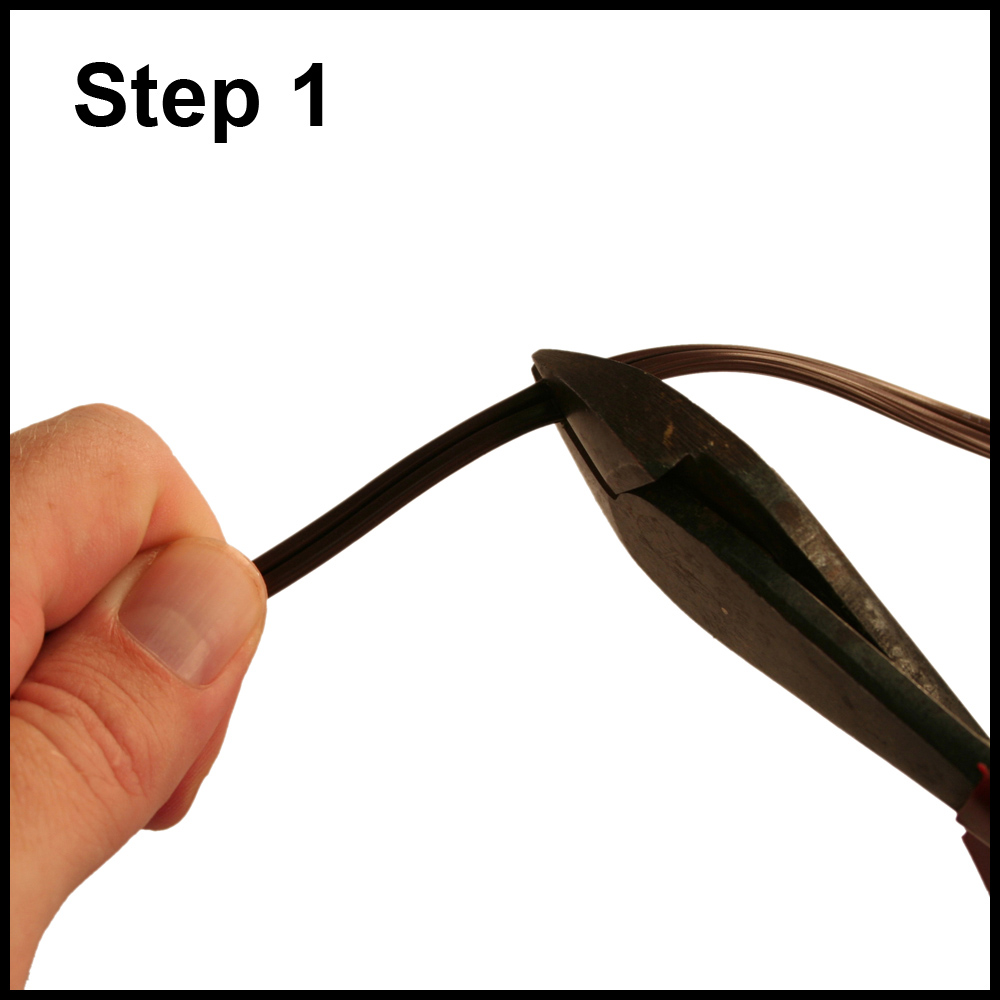
Step 1: Cut the zip cord. Do not strip the insulation from the wire.
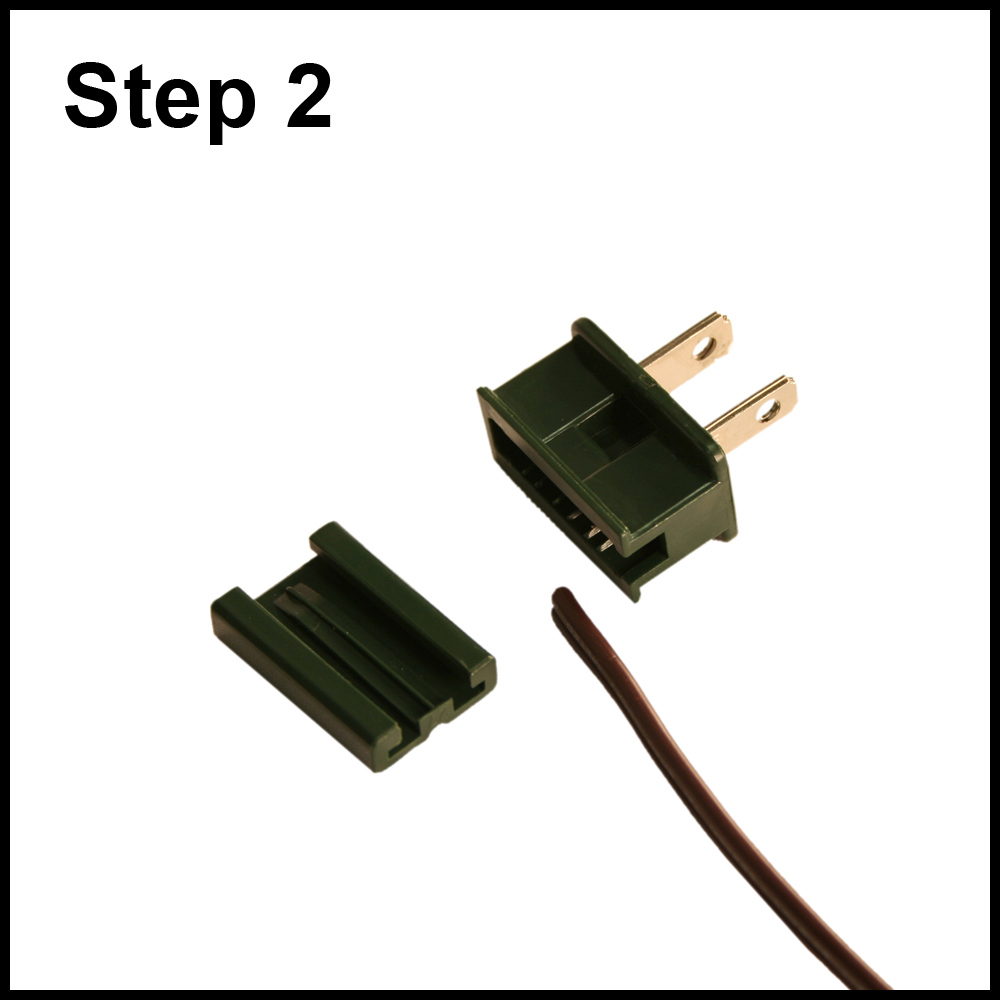
Step 2: Remove backslider from the plug
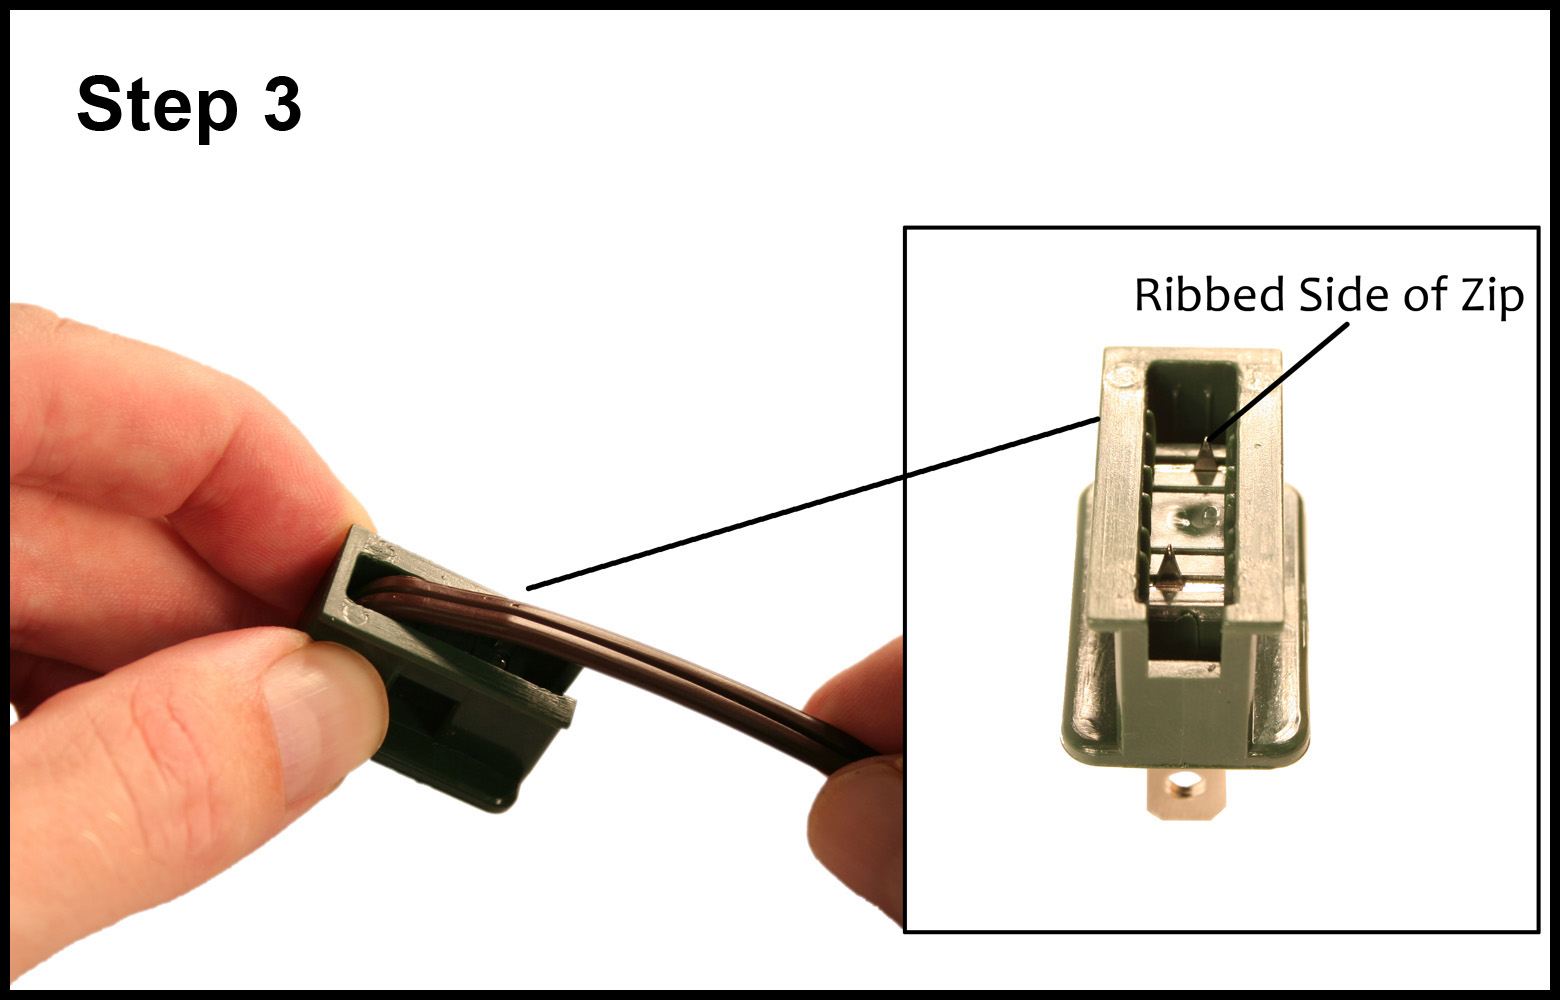
Step 3: Insert the zip into the plug making sure the tip goes all the way down into the end channel. Be sure the ribbed side of the zip is on the right side so that the polarity is correct. (Ribbed zip goes to the larger plug blade) Bend the zip so that it makes contact with the two sharp points.
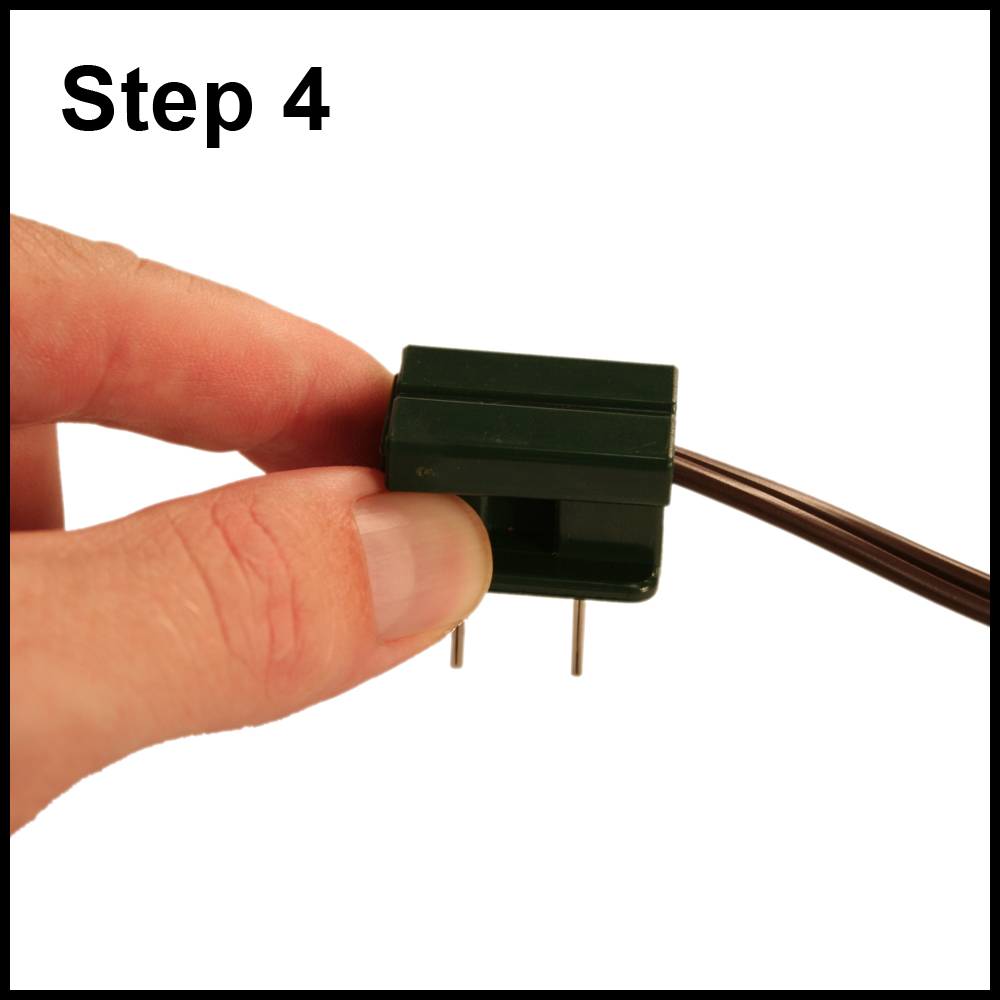
Step 4: Slide back cover onto the plug.
Looking to buy slide on males and females or zip cord? Click the link below for our electrical accessory page:
Vampire Slide On Males and Females and Zip Cord
- Articles
- Ask Jason
- Christmas Lights
- Christmas Lights and Décor
- Christmas Time
- Christmas Traditions
- Christmas Trees
- Commercial Christmas Decorations
- Commercial Decorations
- Company News
- Decorative Lighting
- DIY Projects
- Light Installation
- Lighting Electrical
- Professional Christmas Installers
- RGB Christmas Lights
- Twinkly Smart Lighting


